 |
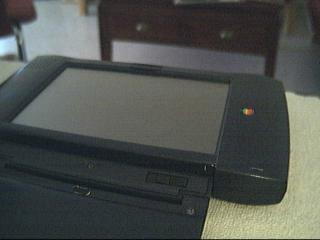
Let's start |
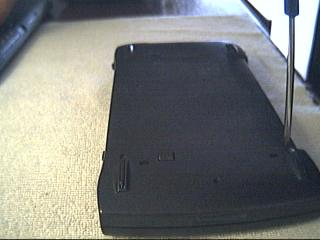 |
There are four philips screws in the back |
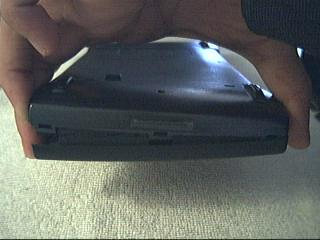 |
Start opening the case near the battery opening |
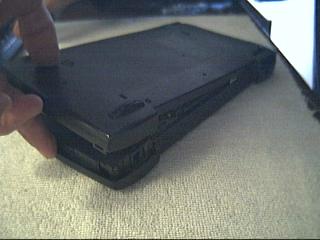 |
go along the case towards the power switch |
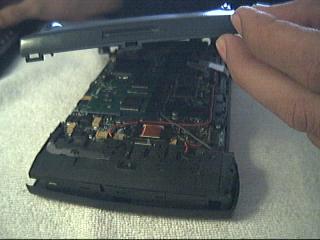 |
It should have poped out at this point |
 |
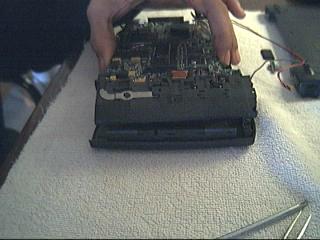
Opened Newt |
 |
There are four orange connectors for the backlight, power switch, microphone and speaker |
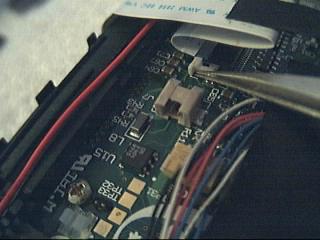 |
This is the LCD connector. You have to push on both sides of the white part to release the flat cable |
 |
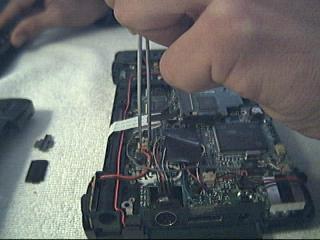
The battery housing is hold by a golden screw in the corner. Lift this side first. There are four more golden screws for the stylus housing and two black screws marked with an arrow, remove them too |
 |
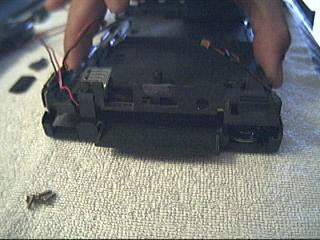
When lifting the board, you have to look for the PC Card slots, hold them close to the board. Lift the battery part first and look near the Interconnect port for a piece of plastic that must release |
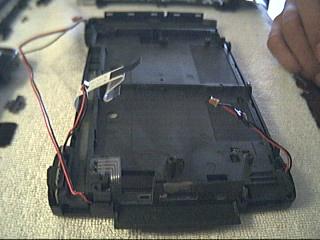 |
The Newt without brains |
 |
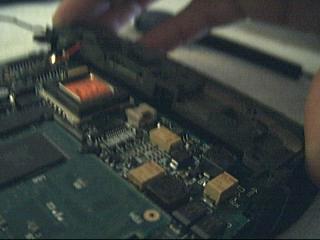
There are two black screws in the battery compartment and four golden screws, one near the battery and three near the interconnect door. When these screws are removed, lift this layer releasing this lock between the PC card slots |
 |
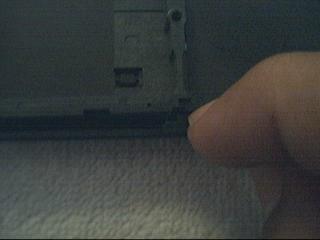
This is the LCD holder, it must be lifted starting by the part near the interconnect door |
 |
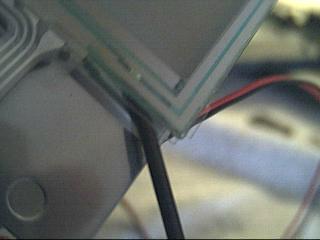
There's a lock on the other side of this picture, near the battery compartment, to release the LCD. There are no screws to remove. That flat cable with four wires is the touch tablet cable. Care must be taken when taking it apart from the plastic case |
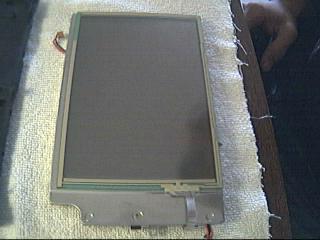 |
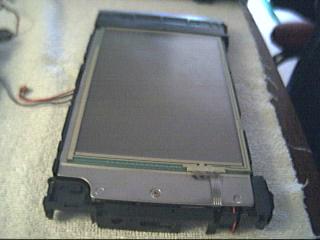
The LCD assembly. The resistive tablet is fixed to this metal LCD housing with double side adhesive |
 |
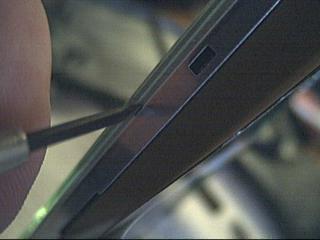
Start taking them apart by the opposite corner of the flat cable. Use something soft to do this part, your nail should do. The adhesive is between the plastic sheet and the metal |
 |
go along the screen to the nearest corner |
 |
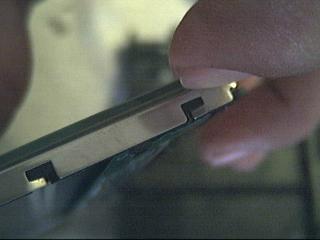
Now you could use a flat screwdriver to slowly unfix the tablet. Slowly. |
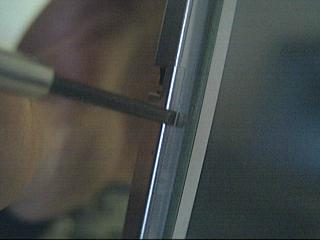 |
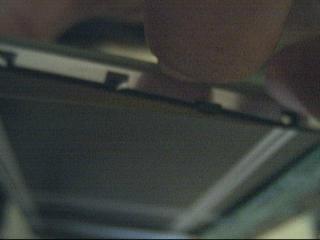
Now the opposite side |
 |
Ending in the cable corner |
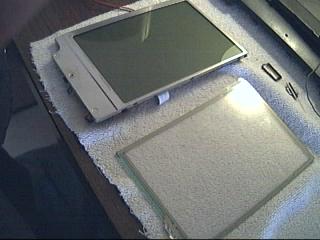 |
LCD and Resistive tablet |
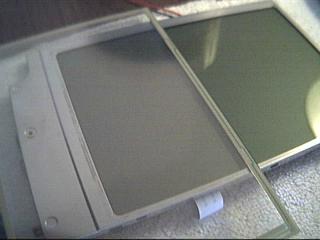 |
Non-glare, you see |
 |
Less bright, you see |